DIY: GALLERY WALL DISPLAYS
Photo by Zeke Ruelas
I love to decorate my walls. But with so many great art prints and options to include, it can be difficult to make a decision. Its moments like this I thank the skies for gallery walls. I’ve been a fan of the style for sometime, but it isn’t always the easiest look to achieve. It can go wrong, oh so wrong. And you can be left staring at lopsided frames and holes from fallen soldiers. I have given my walls beatings and I wish I had thought it through a bit more before “eyeballing” it. But the layout is only hurdle number one.
A good gallery wall is eclectic. There is a little bit of everything but an underlying cohesive nature to the wall as a whole. That doesn’t mean limit yourself, it doesn’t have to be only pictures. You can frame fabric, quotes, images, prints, color, black and white. It’s an endless list of possibilities. The downfall to that is sometimes too many options make it difficult to come to a decision and stick with it.
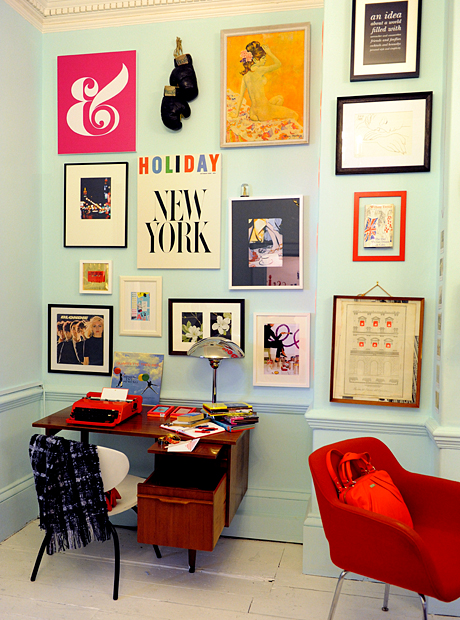
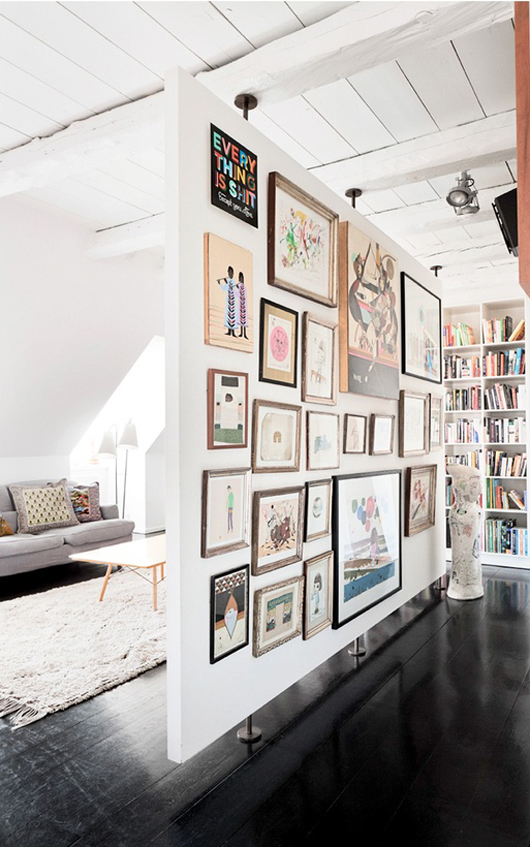
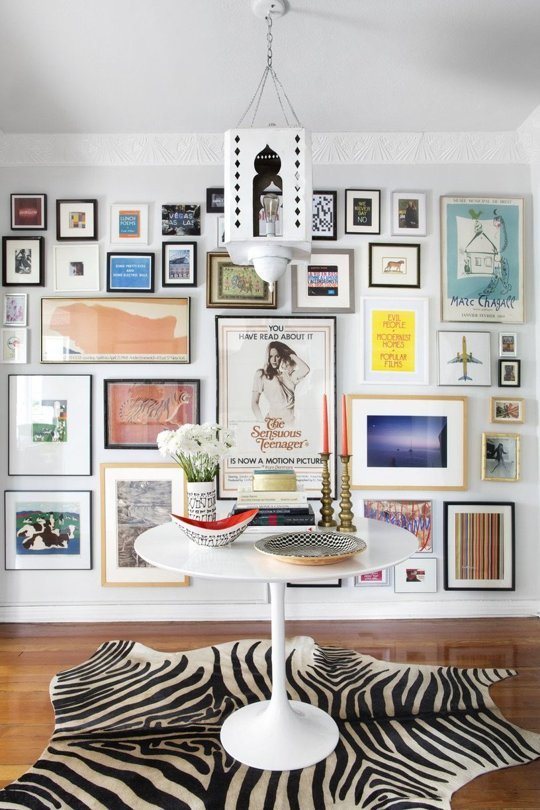
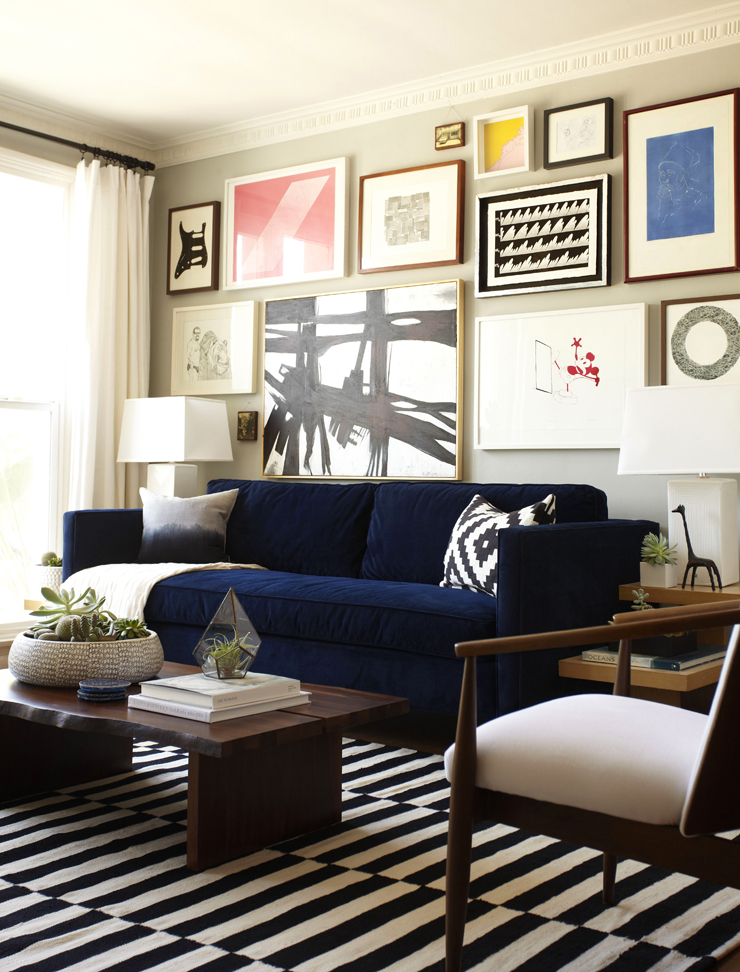
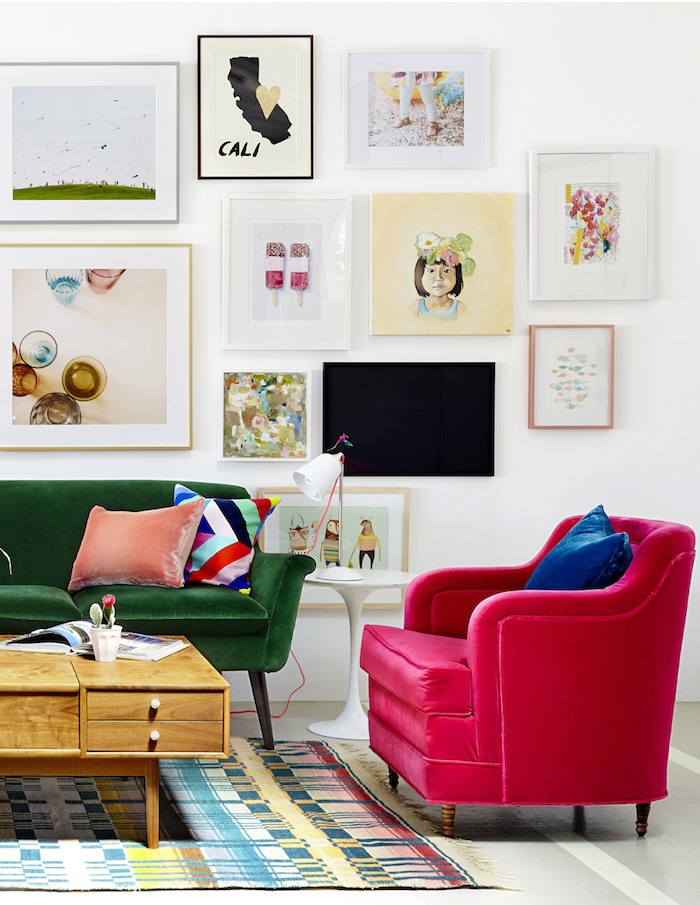
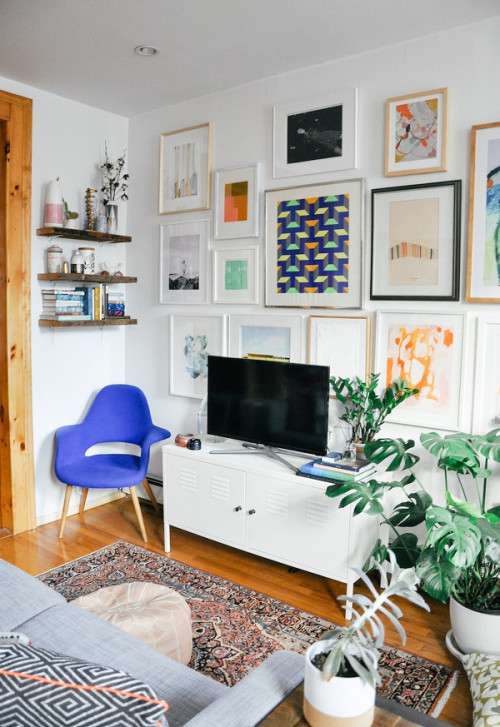
Sprinkle in the added challenge of landscape vs. portrait, frame size, measurement between frames and god forbid you throw a shape in the mix; people, I am having nightmares just writing this! But fear not! I am here to give you a couple tips and examples to help you to achieve the gallery wall you have always wanted. Some samples of gallery walls done right below for you, incase you need a little creative inspiration!
FRAME IT
Framing your art can very easily and very quickly become an expensive project. Consider having one or two of your favorite pieces framed then an alternative for the others. Flea markets and goodwill are a great resource for that. Find existing art, pop out the image, spray the frames and bam! You have beautiful frames the compliment one another. Plus, variety is the spice of life!
PLAN IT
Sure life is fun when you are spontaneous. This is not the moment. Take it from someone who has lost some money due to holes in the wall. Lay your gallery out on the floor, to scale, and move your pieces around. Not sure where to start? Here’s a tip, start with your largest piece first. Build your other pieces around this as a focal point. Keep in mind large groupings of frames read better when they are tightly spaced (1-2inches) apart. Once you reach a place you feel good with, test it.
TEST IT
Once you have decided on your frames and your layout, cut down pieces of butcher paper to the same size as your frames. Using paint-safe tape, start to measure out and re-create your wall with the paper. Just because something looks good on the floor laid out doesn’t always mean it will read well staring back into your face. Not sure where to hang your first frame? Start at about 5 feet up or eye level. If your ceilings are taller or you are, you can always give it a bump up.
SHARE IT
There are lots of great gallery walls out there. Share your hard work… Cause it was hard work, wasn’t it?! Get out there and brag. And be sure to share with us. We always love giving credit where credit is due!
Contributed by estCA staff, Megan Araujo


